
(Disclosure, I may receive a small referral fee when you make a purchase through links on this post.)
Lost in the vast expanse of cables, adapters, and settings, the elusive HDMI connection can often feel like a riddle wrapped in a mystery inside an enigma. And when you throw a misbehaving Chromecast into the mix, well, let’s just say you might start feeling like you need a PhD in tech wizardry just to Netflix and chill. But fear not, brave tech warriors, for we are here to guide you through the tangled web of troubleshooting HDMI connectivity with Chromecast. So grab your swords, er, I mean remote controls, and let’s dive into the land of pixels and possibilities!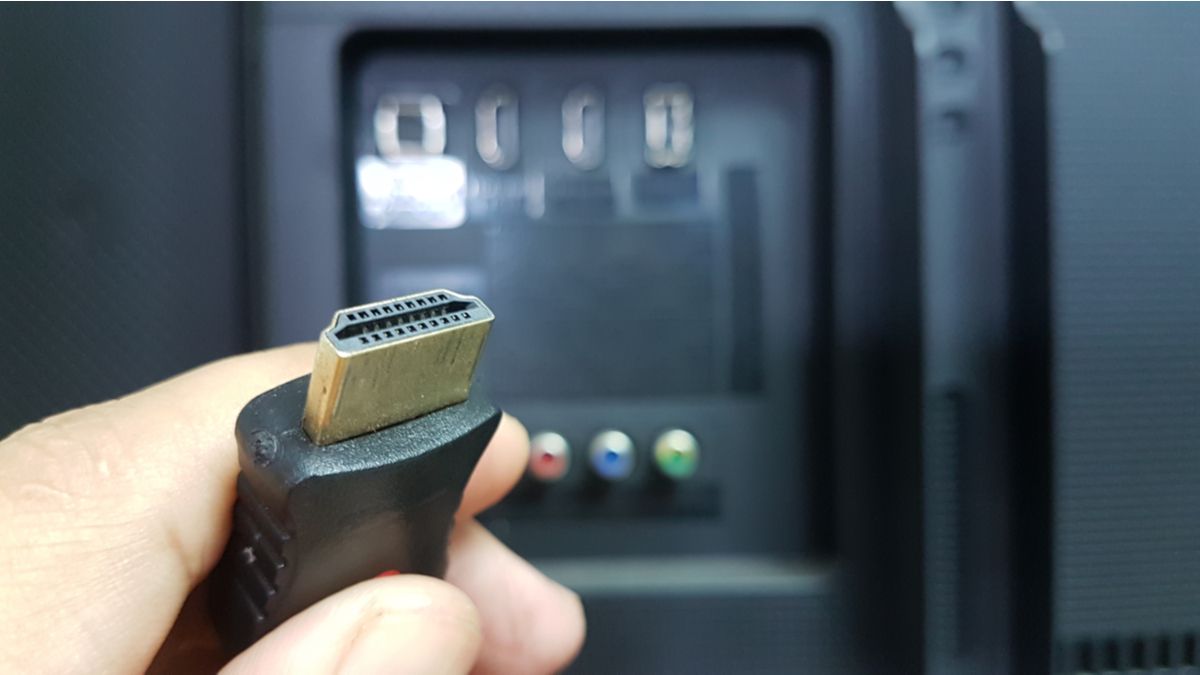
Identifying Potential Sources of HDMI Connectivity Issues
Trying to connect your devices via HDMI but running into issues? Fear not, for we are here to help! Below are some potential sources of HDMI connectivity issues that you might want to check:
1. Loose Connections: Make sure that all your HDMI cables are securely plugged in. If they’re a bit loose, give them a gentle push to ensure a snug fit.
2. Splitter Problems: If you’re using an HDMI splitter, it might be causing issues. Try using a different splitter or connecting your device directly to the TV to see if that solves the problem.
3. Compatibility Concerns: Not all HDMI cables are created equal. Make sure that your devices are compatible with each other and that you’re using the correct type of HDMI cable for your setup.
4. Gremlins: Okay, maybe not actual gremlins, but sometimes electronics just like to play tricks on us. Try turning all your devices off and on again to see if that fixes the issue. If not, it might be time to call in the pros.

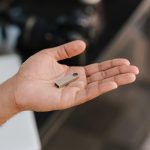
Ensuring Proper Connection of Chromecast Device
So, you’ve got yourself a shiny new Chromecast device, ready to enhance your streaming experience. But before you dive into a marathon of your favorite show, let’s make sure that your Chromecast is properly connected.
First things first, ensure that your Chromecast is plugged into an HDMI port on your TV. It may seem obvious, but you’d be surprised at how many people try to connect it to the microwave instead. And no, streaming popcorn isn’t a thing…yet.
Next, double-check that your Chromecast is powered on. This may require some expert level skills, such as pressing a button or plugging it into a power source. If you’re feeling adventurous, try giving it a little pep talk. You never know, it might just respond with a magical connection.
Lastly, make sure that your WiFi network is up and running smoothly. After all, even the most powerful Chromecast can’t work its magic without a proper internet connection. And remember, a stable connection is key to avoiding those dreaded buffering circles of doom. Ain’t nobody got time for that!

Checking HDMI Cables for Damage or Quality Issues
When it comes to HDMI cables, you never know what you’re going to get. It’s like a box of chocolates – you might end up with a top-of-the-line cable that delivers crystal-clear picture quality, or you might end up with a tangled mess of wires that gives you nothing but static.
But fear not, dear reader, for there are ways to check your HDMI cables for damage or quality issues. Here are a few tips to help you separate the good from the bad:
- Inspect the cable for any visible signs of damage, such as fraying or kinks. A damaged cable is like a broken heart - it just won’t work the same way.
- Test the cable by connecting it to different devices and seeing if there are any connectivity issues. If your cable is finicky, it’s time to say goodbye and move on to greener pastures.
Remember, a good HDMI cable is like a superhero – reliable, strong, and always there when you need it. Don’t settle for anything less!
Adjusting Display Settings on the TV or Monitor
So you’ve finally decided to take matters into your own hands and adjust the display settings on your TV or monitor. Good for you! No more squinting at blurry images or straining your eyes to see tiny text. It’s time to take control and make your viewing experience as crisp and clear as possible.
First things first, grab that remote control and let’s dive into the settings menu. Don’t be intimidated by all those options and technical jargon – you’ve got this! Start by adjusting the brightness and contrast levels to find the perfect balance that suits your eyes. Play around with the hue and saturation settings to make those colors pop like never before.
Next up, it’s time to tackle the resolution. **Choose a resolution that fits your screen perfectly** – none of that stretched or pixelated nonsense. If you’re feeling fancy, experiment with the aspect ratio to change the shape of your display. Who knew watching TV could be so customizable?
And last but not least, don’t forget to fine-tune the picture mode to suit your preferences. **Whether you prefer vibrant colors or a more subdued look, there’s a setting for everyone**. So go ahead, unleash your inner tech wizard and show that TV who’s boss!
Power Cycling Devices to Reset HDMI Connection
Have you ever been watching your favorite show on your TV, only for the HDMI connection to suddenly go haywire? It’s like the technology gremlins are playing tricks on you! Well, fear not, because there’s a simple solution to this frustrating problem: power cycling your devices.
First things first, grab your trusty remote control and turn off your TV. Now, reach behind that beast of a television and unplug the power cord. Give it a good 10-count to really let the electronic goblins know who’s boss. Next, if you have a receiver or any other devices connected to your TV, go ahead and power cycle those bad boys too. And don’t forget about your cable box or streaming device – they deserve a little reset love as well.
Once you’ve power cycled all of your devices, plug them back in and power them up one by one. It’s like waking up from a refreshing nap – but for your electronics! With any luck, your HDMI connection should be back in business, and you can get back to binge-watching your favorite shows without any interruptions. So go ahead, give those devices a little reset love and show those technology gremlins who’s boss!
Updating Chromecast Firmware for Compatibility Fixes
So you just got your hands on the latest Chromecast, only to find out it’s not exactly playing nice with your other devices. Don’t worry – we’ve got you covered with some tips on updating your Chromecast firmware for those pesky compatibility issues.
First things first, make sure your Chromecast is connected to the same Wi-Fi network as your other devices. This may seem like a no-brainer, but you’d be surprised at how many people forget this step!
Next, check for any available firmware updates. To do this, go to the Google Home app on your phone or tablet, navigate to the Devices tab, and select your Chromecast. From there, you should see an option to update the firmware. **Click on that bad boy and let the magic happen!**
If you’re still running into issues after updating the firmware, try restarting all your devices and giving it another go. Sometimes a good ol’ fashioned reboot is all it takes to get things back on track. **And if all else fails, just remember – technology can be a fickle beast. Stay patient and keep on troubleshooting until you find a solution that works for you.**
FAQs
Why is my Chromecast not connecting to my TV via HDMI?
Well, if your Chromecast is giving you the silent treatment and not connecting to your TV, it could be due to a few reasons. First things first, make sure your HDMI port is working properly. You might also want to check if your Chromecast and TV are on the same Wi-Fi network. And don’t forget to give the good ol’ restart a try – sometimes a little tech nap does wonders!
My Chromecast is connected, but the picture is not showing up on my TV. What’s going on?
Looks like your Chromecast might be experiencing a case of stage fright! One possible culprit could be the HDMI cable - try swapping it out for a new one. Also, make sure your TV input is set to the correct HDMI port. And if all else fails, give your Chromecast a virtual pep talk and try resetting it to see if that does the trick.
Why is there no sound coming out of my TV when using Chromecast?
Oh, the silent treatment strikes again! If you’re not hearing any sound when using your Chromecast, it could be due to a few reasons. Check to make sure your TV volume isn’t muted (it happens to the best of us). You might also want to try adjusting the volume on your device to see if that helps. And if all else fails, consider performing a factory reset on your Chromecast to see if that resolves the sound issue.
Happy Streaming!
Now that you’ve conquered the world of HDMI connectivity with Chromecast, you’re all set for endless hours of binge-watching your favorite shows and movies. Say goodbye to pixelated screens and audio glitches, and hello to seamless streaming. Remember, the power is in your hands… or should I say, in your HDMI port?
So go forth, tech wizard, and enjoy your newfound troubleshooting skills. And if all else fails, just remember: unplug it, plug it back in, and try again. It’s the golden rule of tech support!