(Disclosure, I may receive a small referral fee when you make a purchase through links on this post.)
Are you tired of fumbling around with wires and cables just to watch your favorite media on your TV? Say goodbye to the hassle and hello to the magic of casting with Google Drive and Chromecast! In just a few simple steps, you can effortlessly cast your media from the cloud to your screen, without breaking a sweat. So sit back, relax, and let us show you how to make movie night a breeze with our step-by-step guide. By the end, you’ll be wondering why you ever hesitated to cut the cord. Let’s get casting!
Choosing the Right Device to Cast Google Drive Media
So, you’ve got a bunch of movies and TV shows saved on your Google Drive and you’re ready to cast them to your TV for that ultimate binge-watching experience. But with so many devices out there to choose from, how do you know which one is the right fit for you? Let’s break it down, shall we?
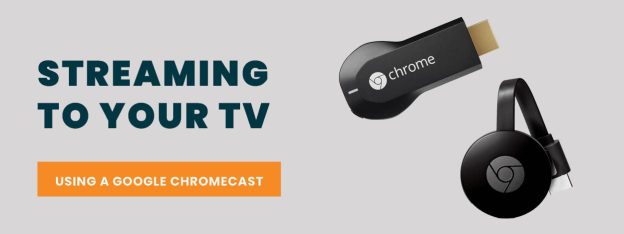
First up, let’s talk about the good ol’ Chromecast. This nifty little device is like the Swiss Army knife of casting. It’s affordable, easy to set up, and works with pretty much every streaming service out there. Plus, it’s small enough to hide behind your TV so your significant other won’t even know you bought another gadget.
Next, we have the Roku Streaming Stick. This bad boy not only lets you cast media from your Google Drive, but it also gives you access to a ton of streaming channels and apps. It’s like having your own personal entertainment hub in the palm of your hand. And did we mention it comes with a remote? Yep, no more fighting over whose turn it is to pick the next show.
And last but not least, we have the Amazon Fire TV Stick. This baby not only lets you cast media from Google Drive, but it also has Alexa built right in. That’s right, you can now control your TV with just the power of your voice. Just be careful not to accidentally order 100 rolls of toilet paper while asking Alexa to play your favorite movie.
Connecting Your Device to the Same Wi-Fi Network as Your Chromecast
So you’ve got yourself a shiny new Chromecast and you’re ready to start streaming all your favorite shows and movies. But wait, how do you actually connect your device to the same Wi-Fi network as your Chromecast? Fear not, dear reader, for I am here to guide you through this treacherous journey!
First things first, make sure your Chromecast is plugged in and set up properly. Once that’s done, follow these simple steps to connect your device:
- Open the settings on your device and find the Wi-Fi options.
- Look for the name of your Wi-Fi network and select it.
- Enter the password for the network (if required).
Now that your device is connected to the same Wi-Fi network as your Chromecast, you’re ready to start casting! Simply open your favorite streaming app, tap on the cast icon, and select your Chromecast from the list. Voila! Your content should now be playing on the big screen. Sit back, relax, and enjoy the show!

Accessing Google Drive and Locating the Media You Want to Cast
To access Google Drive and locate the media you want to cast, follow these simple steps. First, log in to your Google account and navigate to the Google Drive app. Once you’re in, it’s time to go on a treasure hunt for that perfect media to cast.
In Google Drive, your media may be hidden among countless folders and files, like a needle in a haystack. But fear not, brave adventurer! Use the search bar to narrow down your quest and find that elusive media file. Type in keywords like “movie,” “video,” or “song” to improve your chances of success.
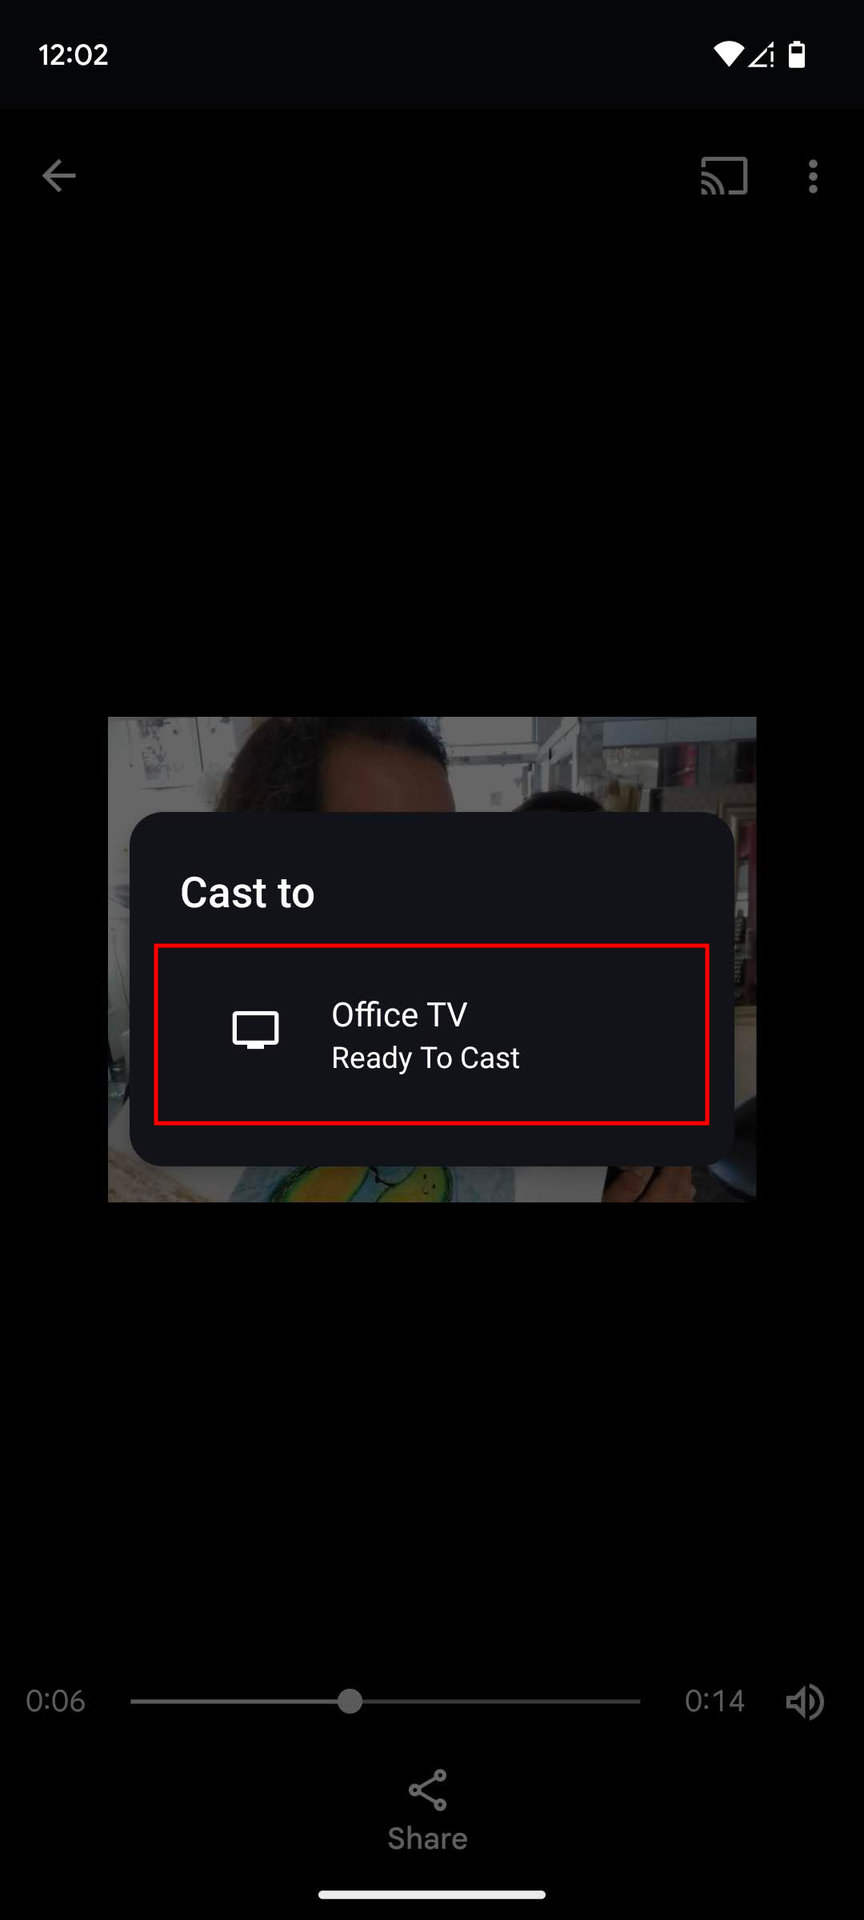
Once you’ve located your desired media, it’s time to cast it to your device. Click on the file and look for the cast icon, usually a rectangle with Wi-Fi waves emitting from it. Click on this icon and select the device you want to cast to. Voila! Your media is now magically beamed to your device, ready to entertain you in all its glory. So go forth, intrepid explorer, and enjoy your media in all its casted splendor!
Selecting the Media File and Choosing the Chromecast Device
So you’ve decided to cast your media file to your Chromecast device – exciting! Now, it’s time to choose the perfect file to share with your friends or family.
First things first, select a media file that will wow your audience. Whether it’s a hilarious cat video, a heart-pounding action movie, or a slideshow of your latest vacation photos, make sure it’s something everyone will enjoy.
Next, it’s time to choose the right Chromecast device to send your file to. Is it the Chromecast Ultra for the full 4K experience? Or perhaps the Chromecast with Google TV for a more streamlined viewing experience? The choice is yours, so pick the device that best suits your needs.
Don’t forget to double-check that your Chromecast device is connected to the same Wi-Fi network as your casting device. Nothing kills the vibe faster than a failed connection, so make sure everything is set up properly before hitting that ‘Cast’ button. Happy casting!

Initiating the Casting Process from Google Drive
So you’ve decided to take the plunge and initiate the casting process from Google Drive. Congratulations on entering the realm of digital casting wizardry!
Before you jump in headfirst, here are a few tips to ensure a smooth sailing journey:
- Make sure your casting materials are easily accessible and organized in your Google Drive. A cluttered drive is like a messy room – no one wants to sift through the chaos to find what they need!
- Double-check that you have the necessary permissions set up for collaborators. The last thing you want is for someone to accidentally delete your carefully curated casting choices!
- Take advantage of Google Drive’s collaboration features. Get feedback from your team, make changes on the fly, and keep everyone in the loop with real-time updates.
Remember, the casting process is all about creativity, collaboration, and a sprinkle of magic. Utilize the power of Google Drive to streamline your workflow and bring your casting dreams to life!
Adjusting Playback and Volume Settings on Your Chromecast
So, you’re having a blast streaming your favorite shows on your Chromecast, but things are getting a bit too loud or too quiet? No worries! Let’s dive into how you can easily adjust your playback and volume settings like a pro.
First things first, let’s talk about adjusting the playback settings. To pause or play your content, simply grab your remote and hit the pause/play button – it’s that simple! Want to fast forward or rewind through a scene? Just tap the fast forward or rewind buttons and voila! And if you’re feeling a bit lazy, you can always use your voice to command the Chromecast to do your bidding. Just say “Hey Google, pause” or “Hey Google, play” and watch the magic happen.
Now, let’s tackle the volume settings. To control the volume on your Chromecast, you can use your remote or the Google Home app on your smartphone. Want to crank up the volume to feel the full impact of that explosion scene? Twist the volume dial up to max. Need to keep things quiet so your neighbors don’t file a noise complaint? Simply lower the volume to a more respectable level. And if you’re feeling indecisive, why not try out the volume presets like ”Loud” or “Soft”? They’re like magic buttons for your ears!
So there you have it – is a piece of cake! Now go forth, enjoy your binge-watching session, and remember – with great power comes great volume control.
Enjoying Your Google Drive Media on the Big Screen
So you’ve got all your movies, photos, and music stored in your trusty Google Drive. But sometimes, watching them on your tiny laptop screen just doesn’t cut it. Fear not, my friend, because I’m here to show you how to enjoy all that glorious media on the big screen!
First things first, you’ll need a Chromecast. This nifty little device plugs into your TV and connects to your Wi-Fi, allowing you to stream content from your Google Drive straight to your TV. It’s like magic, but with less rabbits and more pixels.
Once you’ve got your Chromecast set up, open up your Google Drive on your phone, tablet, or computer. Find the media you want to watch, click the three dots next to the file, and select “Cast.” Sit back, relax, and watch as your media magically appears on the big screen in all its high-definition glory.
No more squinting at your laptop screen or passing around your phone to show off your vacation photos. With just a few clicks, you can turn your boring old TV into a multimedia powerhouse. So grab some popcorn, kick back on the couch, and enjoy all your Google Drive media on the big screen!
FAQs
Why would I want to cast Google Drive media to Chromecast?
Because watching your favorite shows and movies on a big screen is so much better than squinting at your tiny phone screen. Plus, it’s a great way to impress your friends with your tech-savvy skills.
Do I need any special equipment to cast Google Drive media to Chromecast?
Just your trusty old Chromecast device and a reliable internet connection. Oh, and don’t forget the snacks – you’ll definitely need those.
Can I cast all types of media from Google Drive to Chromecast?
Yep, you can cast videos, photos, and even PDFs. So go ahead and show off those vacation photos in all their glory!
Is it difficult to cast Google Drive media to Chromecast?
Not at all! In fact, it’s as easy as pie. Well, maybe easier – have you ever tried baking a pie from scratch? Now that’s hard.
How do I cast Google Drive media to Chromecast?
Step 1: Open Google Drive on your computer or phone.
Step 2: Find the file you want to cast.
Step 3: Click on the three dots next to the file name.
Step 4: Select “Cast” from the dropdown menu.
Step 5: Choose your Chromecast device.
Step 6: Sit back, relax, and enjoy the show!
In Conclusion
And there you have it, folks! With this step-by-step guide, you can now effortlessly cast your Google Drive media to Chromecast like a pro. No more fumbling around with cables or struggling to navigate through different apps – just sit back, relax, and enjoy your favorite content on the big screen. So go ahead, give it a try and impress your friends with your tech-savvy skills. Happy casting!


